/
X-Port Static IP address configuration
X-Port Static IP address configuration
- Former user (Deleted)
- Dmytro Svitlychnyi
Owned by Former user (Deleted)
In this chapter will step by step explain how to configure Static IP address for X-Port chip. This configuration may be needed for networks which do not use DHCP server for dynamic IP assignation.
- Download and install Lantronix DeviceInstaller Software Tool from the following URL: Device installer
- Connect your iqInterface Device to the same network as a Computer and power it on;
- Run Lantronix DeviceInstaller Software:
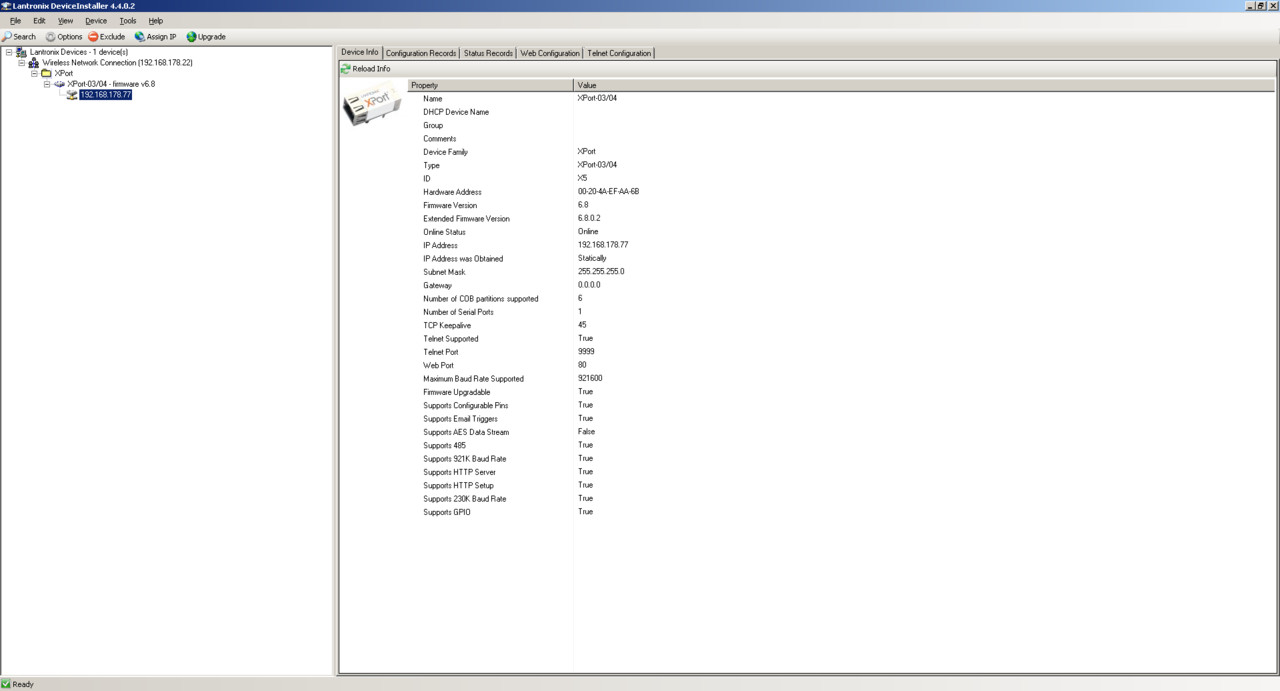
- In the left top corner of the main window use "Search" button to find all Latronics X-Port Devices in network;
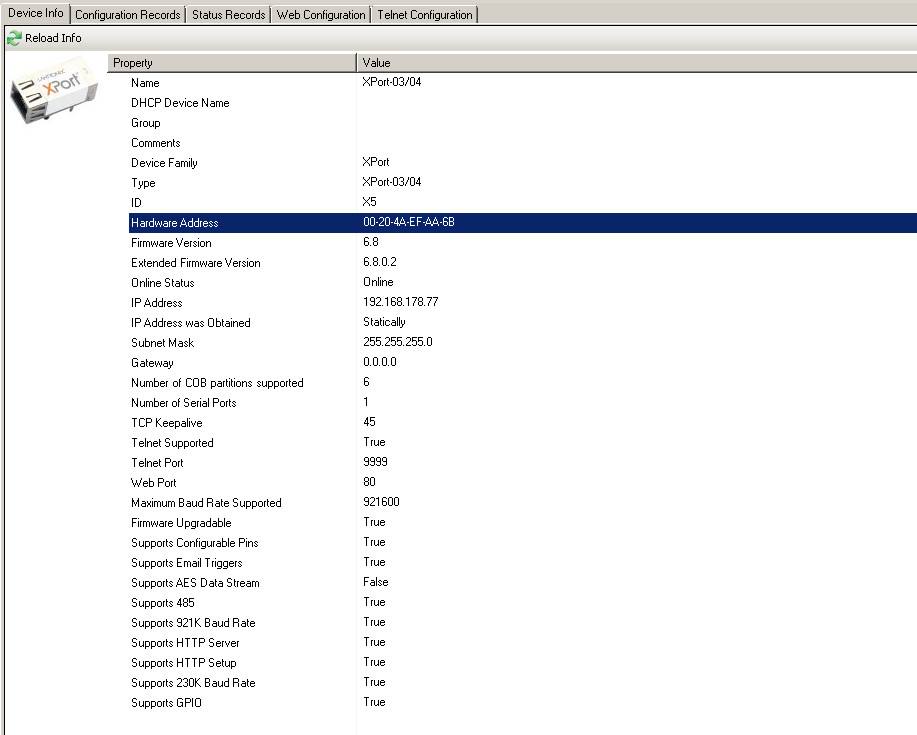
- After one or several X-Ports will be found you can choose the right one using "Device Info" tab on the left part of the main window. On this tab you can see the exact physical address of the X-Port. The same physical address should be written on the X-Port chip.
- After choosing the right Device, user should highlight it in tree-view on the left and press "Assign IP" button.
- The "Assign IP Address" wizard window will appear:
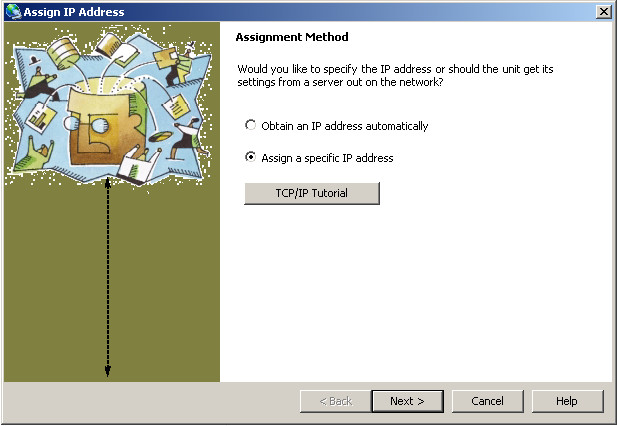
- On the first screen choose "Assign a specific IP address". And press "Next" button.
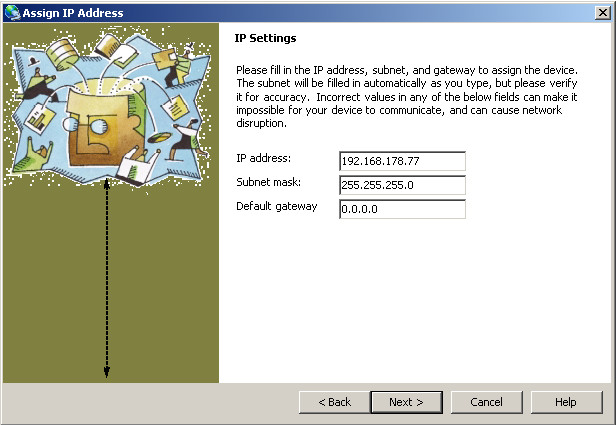
- On the second screen use should enter desired static configuration values for IP address, Subnet mask and Default gateway. Then press "Next" button.
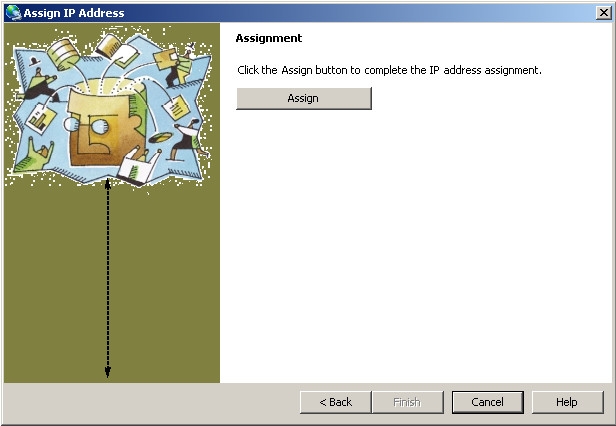
- On the next screen press "Assign: button to start a configuration process.
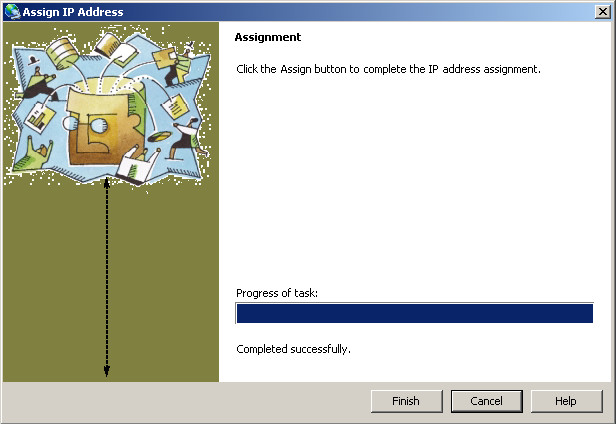
- After configuration process will be finished press "Finish" button.
- Make sure that selected X-Port in the tree-view on the left has changed it's IP Address to the desired.
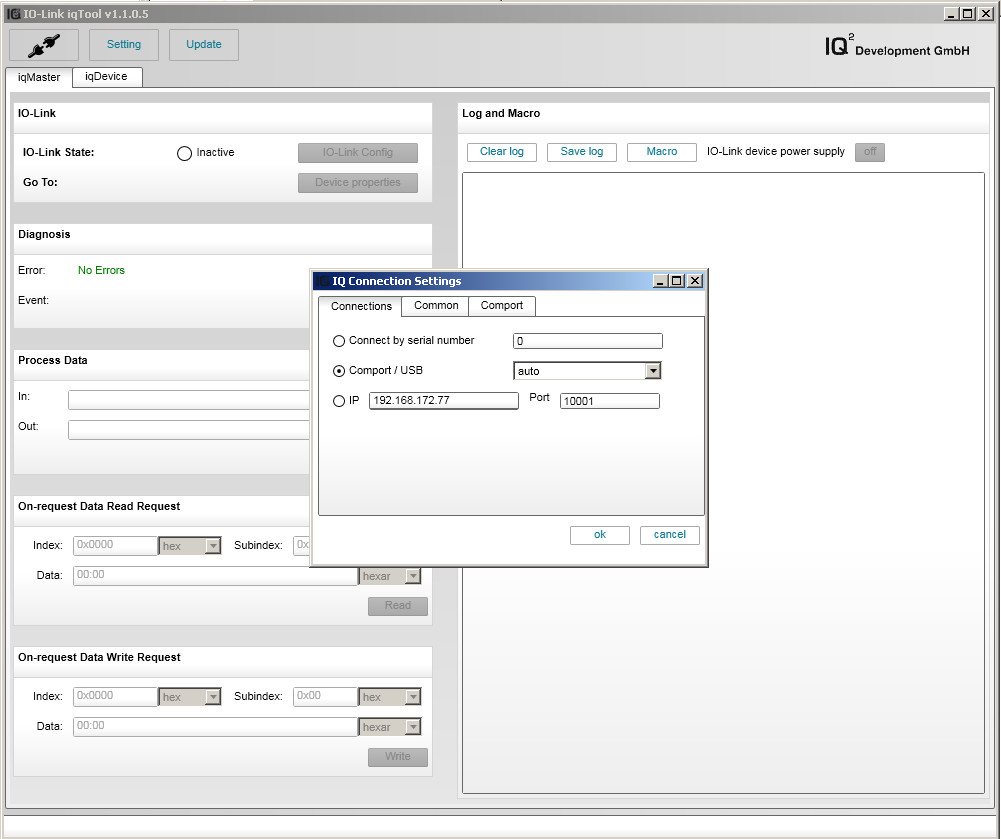
- Run iqTool Software and configure preconfigured static IP in Connection Settings Dialog:
, multiple selections available,
Related content
Assigning Hostname for iqInterface
Assigning Hostname for iqInterface
More like this
Cannot connect iqInterface with direct connection
Cannot connect iqInterface with direct connection
More like this
iqInterface
iqInterface
More like this
PC connection configuration
PC connection configuration
More like this
Device mode
Device mode
More like this
Hardware setup
Hardware setup
More like this